
2D Design vs. 3D Design in Sewn Product Development:Where AI Fits In
Sewn product development runs through two established design methods: 2D pattern development and 3D virtual sampling. Lately, a third tool has entered the conversation. AI can turn a written description into an image in seconds, and many founders now start there instead of with either one. Understanding where that AI image actually sits, and how it differs from real 2D and 3D design work, makes it easier to move from an early idea to something that can actually be sewn.
Need help with a project? Free expert guidance is just a click away.
Curious how sewn products are made? Learn more
What 2D Design Actually Means
2D design is pattern development: the flat pieces, seam lines, and technical drawings that define how a product will actually be constructed. It's the traditional starting point for any sewn product, whether it's built by hand or on a screen. A pattern is not a picture of the product. It's a set of instructions for how fabric gets cut and assembled to create it.
Where an AI Concept Image Fits, and Where It Doesn't
An AI-generated concept image is created from a written prompt. The software doesn't know how your product will be constructed, what the materials will do, or whether the details it invents can actually be sewn. It's drawing from a broad set of visual references rather than working from a defined pattern or product specification.
That doesn't make the image useless. It can help explore a general direction, compare visual styles, or communicate a mood that's hard to put into words. The important thing is to treat the result as a visual reference, not a construction plan. An AI image can look photorealistic and finished, but that is exactly what makes it easy to mistake for something further along than it is. It isn't 2D pattern work, and it isn't 3D design either. It's a placeholder for an idea that still needs to go through one of those two processes.
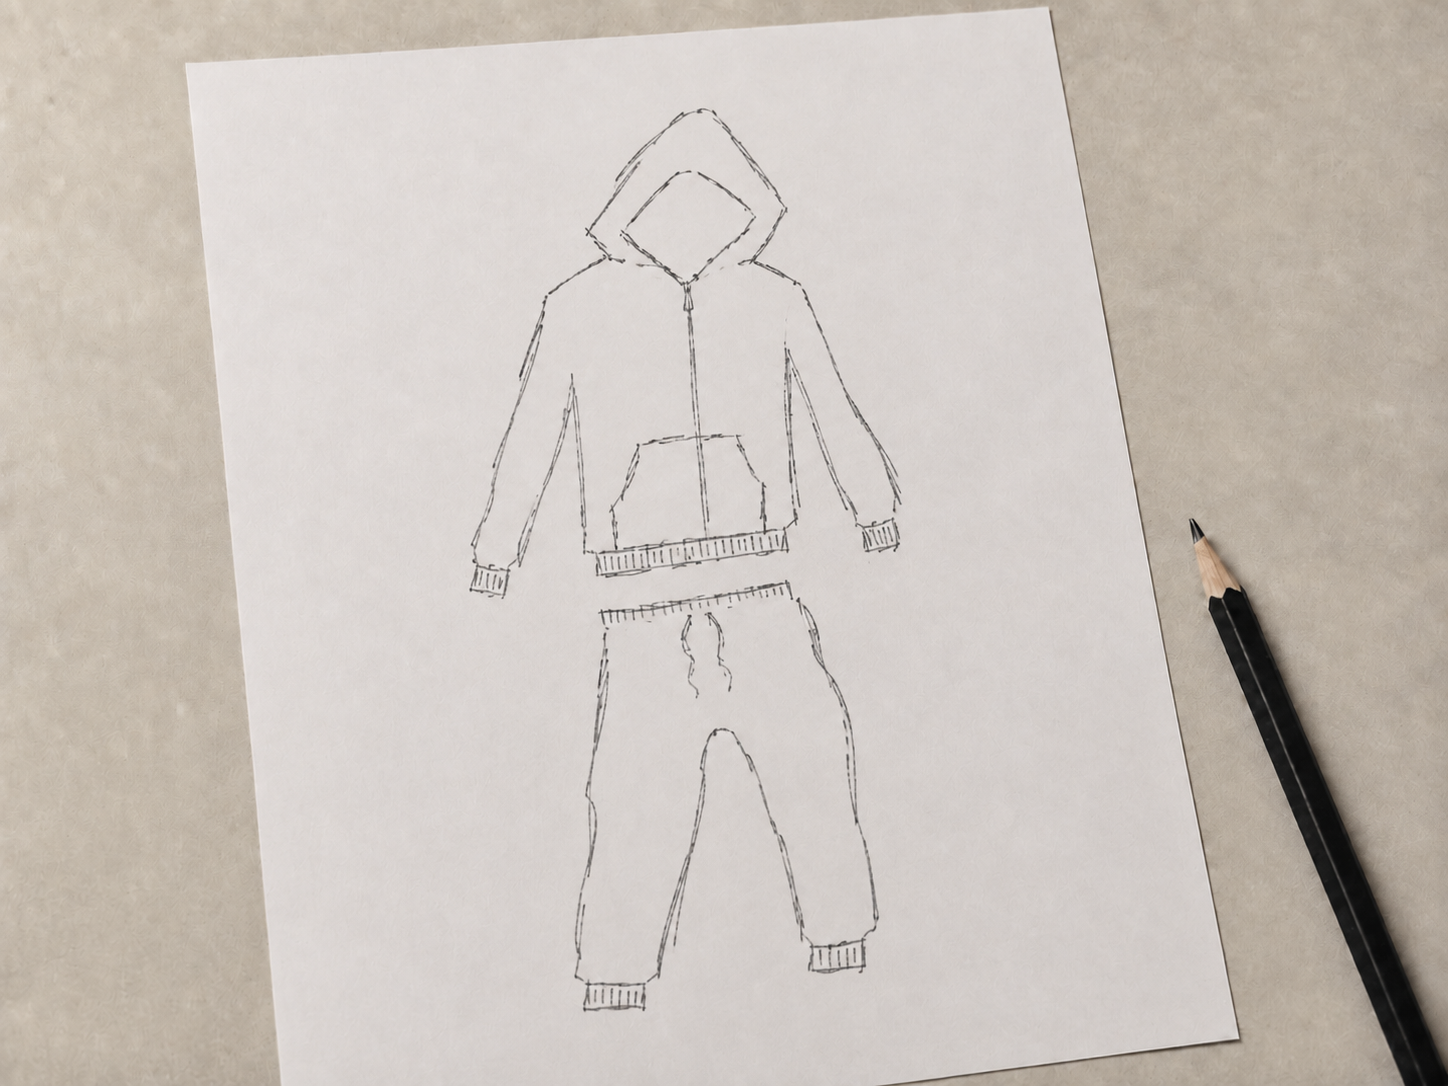
Why a Rough Sketch or Mock-Up Works Better
When the goal is to communicate an idea accurately, a real sketch, a simple paper mock-up, or a rough sample stapled and taped together often works better than a polished AI image. Every line in a hand sketch, fold in paper, or staple in a rough sample is made on purpose. If it's erased, unfolded, or retaped, you can explain why, making it easier to talk about what your product should actually do.
What 3D Design Actually Means
3D design is virtual sampling: draping a pattern over a body or form sized to match real measurements, the same way a sewn sample comes together on a live person. Because it's built this way, it behaves like the real product, not an interpretation of it. It isn't a picture of the product either. It's the pattern itself, given shape and volume before a single piece of fabric is cut.
This is where 2D and 3D design actually connect. A 3D virtual sample can only be built from a real pattern. Without the 2D work done first, there's nothing accurate to simulate.
Is Your 2D Design Ready to Move to 3D?
You don't need every construction detail resolved before moving from a 2D pattern into a 3D virtual sample, but the pattern should be developed enough to represent real decisions instead of guesses. Before moving forward, it helps to know:
Is the pattern developed enough to represent the product accurately?
Are the main features and proportions decided, not still being explored?
Are there specific visual choices you want the 3D version to help you evaluate?
Is there a plan to test the product physically once the design has been developed further?
These questions separate a pattern that's ready for 3D design from one that still needs more 2D development first.
What a 3D Virtual Sample Can Help You Review
Once a pattern is ready, a 3D virtual sample lets you see the product as a three-dimensional object instead of a flat drawing. Some ideas are hard to evaluate from separate views alone, and this virtual prototype makes it easier to look at the whole product and how its parts relate to each other.
A virtual sample is useful for reviewing:
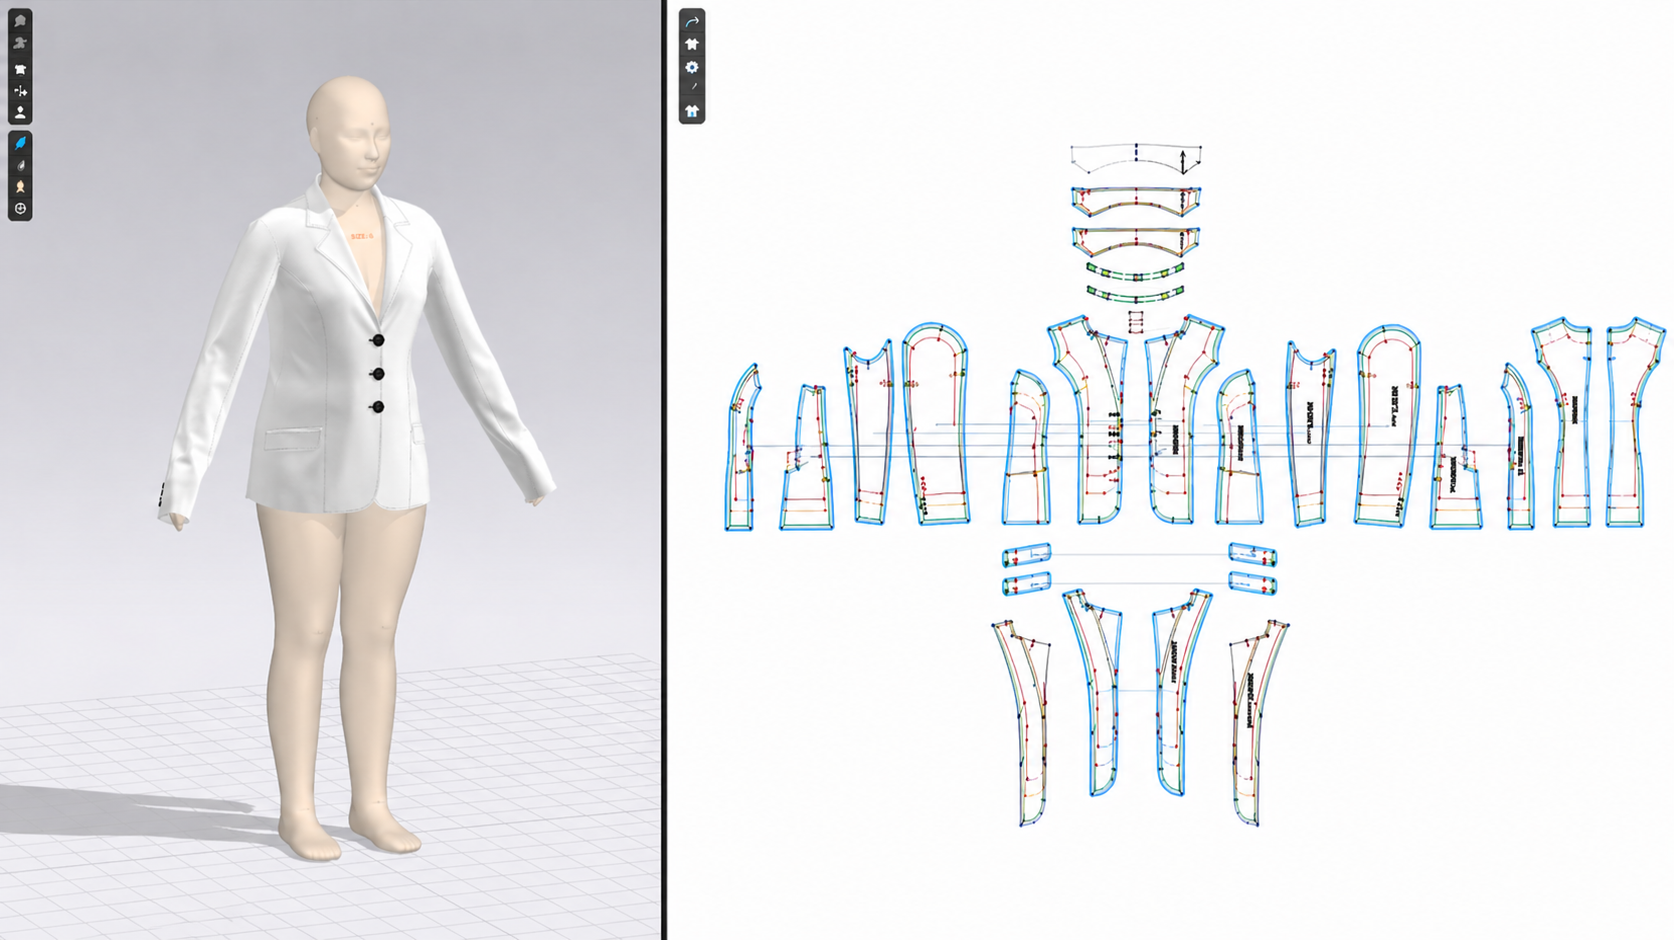
Overall shape and visual balance
The scale and proportion of visible features
How panels, pockets, closures, and trims relate to one another
Color and material placement
Hardware and branding locations
Variations within the same design concept
This kind of review can surface problems before they reach a sewn sample, like a pocket that looks too large once it's viewed in three dimensions. Catching this at the virtual sample stage leads to more focused revisions and gives everyone on the project a consistent reference to react to.
A virtual sample's purpose stops there, though. It shows the proposed appearance of the product. It doesn't confirm how the product will actually perform once it's made.
What Still Has to Be Confirmed With a Sewn Prototype
No virtual sample, however accurate, can fully reproduce how fabric, foam, webbing, elastic, or hardware behaves in the real world. Even when proportions and placements look right on screen, only a sewn prototype can answer questions like:
Does the product fit or feel right during actual use?
Do the materials provide the structure, flexibility, or movement the product needs?
Do layers or seams create unwanted bulk?
Are pockets, openings, straps, and controls easy to reach and operate?
Do closures and hardware work the way they're supposed to?
Does any area need reinforcement because of tension or repeated use?
Can the construction actually be assembled the way it was designed?
Consider a T-shirt. A virtual sample can communicate its intended fit and style clearly, but it can't show how the fabric will actually drape, stretch, or feel against skin. That's exactly why the virtual sample stage is worth the time it takes: revising it costs nothing in fabric or labor, while every round of physical sampling costs both. The same is true for any sewn product, not just garments: every product still has to be evaluated as a complete physical system, and that only happens once a prototype exists.
Using Each Stage for the Decision It Supports
Development still starts with a picture, but the kind of picture matters. A rough sketch or mock-up only shows what you intended, so it's easy to build on. A polished AI image shows things you didn't intend, and instead of moving the product forward, you end up spending your time explaining what's wrong with it. Used in the right order, 2D design, 3D design, and sewn prototyping each narrow the gap between an idea and a finished product, one real decision at a time.
Are you ready to move your sewn product idea from concept through to manufacture? Get started today by booking your free 30 minute video consultation.

Want information like this sent straight to your inbox?
Sign up for our newsletter to receive the latest news, exclusive offers, and insights about our products and services.
Frequently Asked Questions
-
2D design is pattern development: the flat pieces and technical drawings that define how a product will actually be constructed. 3D design is virtual sampling, draping that pattern over a body or form sized to match real measurements so the product can be reviewed in three dimensions before anything is sewn.
-
No. An AI image is generated from a prompt and isn't tied to a real pattern, so it can look finished without representing anything that can actually be built. A 3D virtual sample is built from an actual pattern and real measurements, so it behaves like the real product instead of an interpretation of it.
-
No. A 3D virtual sample can only be built from a real pattern. Without the 2D work done first, there's nothing accurate to simulate.
-
No. A virtual sample shows the proposed appearance of a product, but it can't confirm how fabric, hardware, or construction will actually perform. Only a sewn prototype can answer that.
-
It's a fast way to explore a general direction before development begins. The risk is treating a polished AI image as though it were already a 3D virtual sample or a finished design, when no pattern work has happened yet.
-
It's ready once the main features and proportions are decided rather than still being explored, and there's a clear question you want the 3D version to help you answer. If details are still being guessed at, more 2D development is needed first.